

I pretty much follow the manufacturer's instructions but have a few tips for things I do a bit differently.
Or perhaps you've never made them and weren't sure how~ I always think photos help.Here goes...
Covered Button Tutorial
Supplies:
*covered buttons-
I used the 'half ball' cover button kit by Dritz because that's what I had on hand-like a box full(!).Of course there are different kinds and of course you can use them and any size.

*fabric glue (I've been using gem-tac but I'm sure other fabric or permanent glues work well too )
*fabric scrap a little bigger than the circumference of your button cover
*cotton batting
*old pencil(you'll want one with most of the eraser intact, as that's what you'll mainly be using)
*(optional) a rotary circle cutter(this one's by Olfa)

Choose a fabric for your button:

*Cut one fabric circle.
You can use the template that comes with your button kit, or if you throw the package away like me ;)...
Using your rotary circle cutter, cut one circle of fabric so that it is about 1/2- inch larger than the diameter of your button all the way around.You'll maybe have to play around with some scrap fabric first to get the right size. I put the point of the rotary cutter on the center of the button and adjust the size 'til its about a half inch larger than the button.
*Cut one batting circle.I use warm and natural. Again I use a rotary cutter for this. This button is smaller than I can make with my rotary cutter so later I'll trim it down to size.

*Trim the batting to the exact size of the button:

Step 4:
*Center the batting on the wrong side of the fabric circle.

Step 5:
*Place the button cover 'face down' on the batting

Step 6:
*Start pressing the fabric over the prongs. I start and just keep going all the way around.Carefully holding the fabric so it doesn't move too much.The manufacturer's directions say to start and do each opposite corner, then work in between these 'corners'. Whatever works best for you :)

Step 7:
*I go around the button and push the fabric over every couple of prongs, then go back again over the 'skipped' prongs, all the way around smoothing as I go.I am super persnickety about my buttons and do not like them to not be perfectly smooth.

Here's where the pencil comes in handy...I use the eraser to push the fabric into the prongs. Around and around pushing the fabric tight and smoothing the edges.I also use the point of the pencil if I have to, to push the fabric into the prongs.
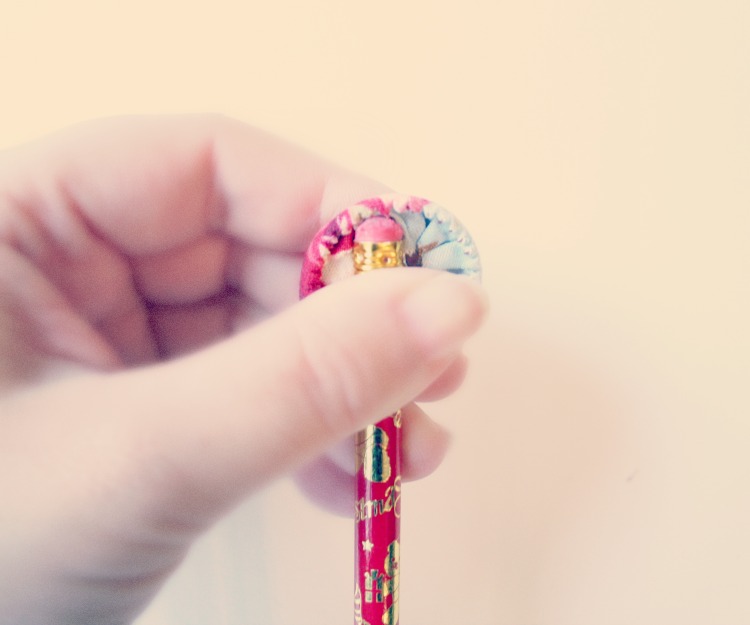

Step 8:
*I add a few drops of fabric, or other type of permanent glue. A little goes a long way. Keep the glue towards the center.

Step 9:
*Attach the back.Make sure you double check the right way first, so you don't put the wrong side and get glue on it like me :0
Push it into place 'til you hear the click.

And voila! You have a pretty covered button :)


No comments:
Post a Comment